Oak City Blog
How to Set Up a Restroom Trailer: Power, Water and Site Prep Guide
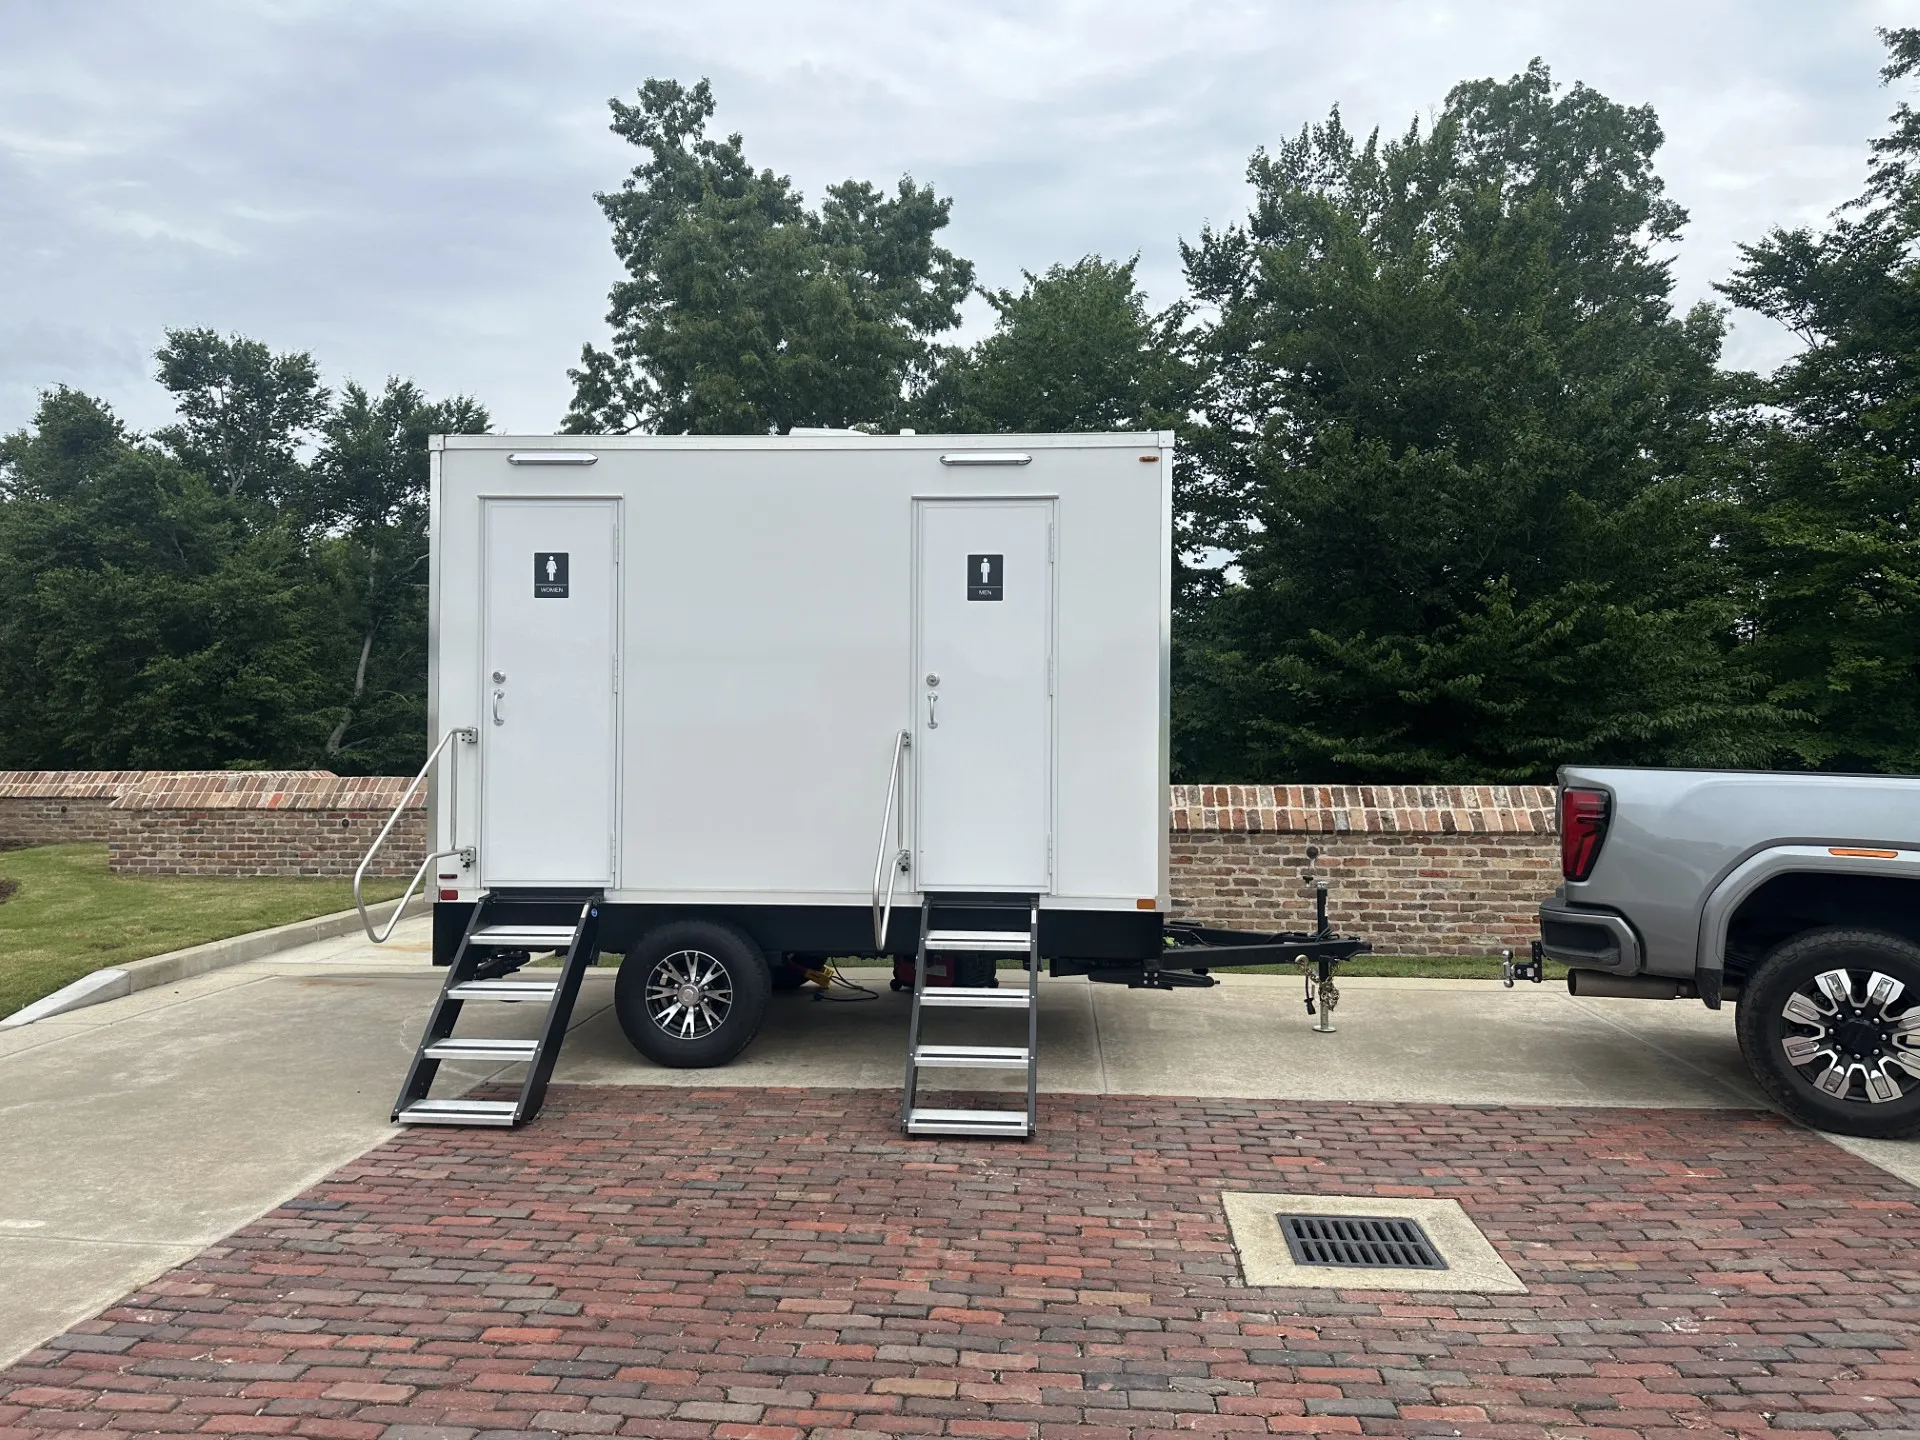
You have booked your restroom trailer for the big event. Now what? One of the most common questions we hear at Oak City Restrooms is about setup: what does your site need before the trailer arrives? The good news is that our team handles the heavy lifting. But understanding the setup requirements ahead of time helps you choose the right placement, avoid day-of surprises, and make the entire rental experience seamless.
This guide walks you through every aspect of restroom trailer site preparation, from electrical connections and water needs to surface requirements and placement strategy. Whether you are hosting a wedding at a farm venue, a corporate event at an outdoor retreat center, or a festival at a public park, this information will help you plan with confidence.
Electrical Requirements: What Power Does a Restroom Trailer Need?
Every luxury restroom trailer needs electricity. The trailer’s climate control system, interior LED lighting, water heater, and ventilation fans all depend on a reliable power source. Understanding the electrical requirements ensures your trailer runs comfortably from the first guest to the last.
Standard Electrical Connection
Our trailers at Oak City Restrooms require a standard 20-amp, 120-volt electrical outlet within reach of the trailer placement area. This is the same type of outlet you find on the exterior of most homes, barns, and commercial buildings. A heavy-duty outdoor extension cord (12-gauge minimum, 50 to 100 feet) connects the trailer to your power source.
Key electrical details to confirm with your venue:
- Outlet location: Where is the nearest outdoor outlet relative to where the trailer will sit? Measure the distance so you can plan cord routing.
- Outlet type: A standard 3-prong, 20-amp grounded outlet works. GFCI-protected outlets are ideal for outdoor use.
- Circuit capacity: The trailer draws approximately 15 to 20 amps. Make sure the circuit is not shared with other heavy loads like stage lighting, kitchen equipment, or sound systems that could trip the breaker.
- Weatherproofing: If the outlet is exposed, confirm it has a weatherproof cover, especially for events that could encounter rain.
What If Your Venue Has No Power?
Many outdoor venues, especially farms, open fields, parks, and private land, do not have convenient electrical outlets near the event area. In these cases, a portable generator solves the problem. A 3,000-watt generator is sufficient for running one restroom trailer. For multiple trailers, plan for a larger generator or individual generators per unit.
When using a generator:
- Place it at least 20 feet from the trailer to reduce noise
- Ensure it has a full fuel tank and adequate fuel for the event duration (a typical generator runs 8 to 12 hours on a full tank)
- Test the generator before the event to confirm it starts reliably
- Designate someone to check fuel levels during long events
If you are unsure about your venue’s power situation, mention it when you contact us for a quote. We can advise on the best solution for your specific venue.
Water Supply: What You Need to Know
Our luxury restroom trailers feature flushing toilets and running water sinks, which is what separates them from standard portable toilets. Understanding the water system helps you plan for a smooth event.
Self-Contained Freshwater System
Oak City Restrooms trailers come equipped with an onboard freshwater tank that supplies the sinks and toilet flush mechanisms. We fill this tank before delivery, and for most events (up to 8 hours with 150 guests), a single fill is more than sufficient. There is no need for your venue to have a water hookup for standard event rentals.
When External Water Is Needed
For longer events, multi-day rentals, or very high-traffic situations, an external water connection can supplement the onboard tank. This is typically a standard garden hose connection. Situations where supplemental water is beneficial:
- Multi-day festivals running two or more consecutive days
- Events with 200+ guests lasting 6 or more hours
- Construction site rentals where the trailer is on site for weeks or months
- Events in extremely hot weather where guests wash hands more frequently
If your venue has an accessible outdoor faucet or spigot near the trailer placement area, let us know and we can connect to it as a supplemental supply.
Waste Management
The trailer also has an onboard waste holding tank. For single-day events, this tank has ample capacity. Our team handles all waste removal during post-event pickup. You never have to deal with waste management yourself. For multi-day events, we service the tanks between event days.
Surface and Ground Requirements
The placement surface matters more than most people realize. A poorly chosen spot can make setup difficult, create an unpleasant guest experience, and even damage your venue grounds.
Ideal Surface Types
Restroom trailers can be placed on a variety of surfaces:
- Asphalt or concrete (parking lots, driveways): The ideal surface. Level, stable, and easy to access.
- Compacted gravel: Excellent alternative. Provides drainage and stability.
- Level grass or lawn: Works well for most events. Choose a spot that drains well so guests do not walk through mud after rain.
- Packed dirt or earth: Acceptable when level. Avoid soft or sandy soil that could shift under the trailer’s weight.
Surfaces to Avoid
- Steep slopes: The trailer must sit level for plumbing to function properly. Minor grades (2 to 3 degrees) can be corrected with leveling equipment, but significant slopes are not suitable.
- Soft, muddy ground: Heavy rain before an event can turn grass into mud. If your venue is prone to drainage issues, consider placing plywood or ground mats along the path and under the trailer.
- Uneven terrain with rocks or roots: These create instability and can damage the trailer’s undercarriage.
Space Requirements
Here is what each trailer configuration needs:
| Trailer | Length | Width | Recommended Clear Area |
|---|---|---|---|
| 3-Station | 16’3” | 7’6” | 25’ x 12’ |
| ADA 3-Station | 20’0” | 8’6” | 30’ x 14’ |
| 4-Station | 20’0” | 8’6” | 30’ x 14’ |
The recommended clear area accounts for the trailer itself, entry steps, ramp space (for ADA trailers), and a small buffer for comfortable guest flow on both sides.
Placement Strategy: Where to Position the Trailer
Smart placement makes the difference between a seamless guest experience and a frustrating one. Here are the key principles.
Proximity to the Event
Place the trailer close enough that guests can find it within a 1 to 2 minute walk from the main event area. If it is too far, guests will not use it, or they will be away from the event for too long. As a rule, 100 to 200 feet from the primary gathering area works well.
Sight Lines and Aesthetics
While the trailer should be accessible, it does not need to dominate the view. Position it:
- Behind a tree line, hedge, or structure that provides a natural visual screen
- Around a corner or at the edge of the event footprint
- Near the perimeter rather than in the center of the event space
For weddings, this is especially important. Work with your photographer and venue coordinator to choose a spot that keeps the trailer out of ceremony and portrait backdrops.
Delivery Access
Our delivery truck needs a clear path to the placement spot. Consider:
- Driveway or road width: At least 10 feet wide for the truck and trailer
- Overhead clearance: At least 12 feet (watch for low-hanging branches, power lines, or archways)
- Turning radius: The truck needs space to maneuver, especially at the placement spot
- Gate access: If there are gates or barriers, confirm they can open wide enough and that you have keys or codes for the delivery team
Proximity to Utilities
If possible, place the trailer within 100 feet of an electrical outlet and (if applicable) a water source. Shorter distances reduce the need for long extension cords and hoses.
Have questions about your venue’s setup? Call us at (919) 335-4926 or request a free quote. We can walk through your venue details and recommend the best placement.
Lighting and Signage for Evening Events
If your event runs into the evening, guests need to find the restroom trailer safely after dark.
Pathway Lighting
Consider adding lighting along the route from the event area to the trailer:
- Solar stake lights along walkways (inexpensive, no wiring needed)
- String lights overhead for a decorative touch (especially popular at weddings)
- Battery-powered lanterns at key turning points
- Flameless candles in luminaries for a warm ambiance
Directional Signage
A small, tasteful sign pointing toward the restrooms helps guests find the trailer without having to ask. Many event planners use a chalkboard sign, a printed sign on an easel, or a decorative sign that matches the event theme.
Our trailers have interior LED lighting that creates a warm glow visible from a distance, so the trailer itself serves as a beacon once guests get close.
The Oak City Restrooms Setup Process
Here is exactly what happens when our team arrives at your venue:
- Arrival: We arrive at the agreed-upon delivery time, typically 2 to 4 hours before your event starts.
- Placement: We position the trailer in the designated spot using our delivery vehicle.
- Leveling: We use leveling jacks and equipment to ensure the trailer sits perfectly flat.
- Utility connection: We connect the electrical cord to your power source (or start the generator) and connect a water hose if applicable.
- Systems check: We test all toilets, sinks, lighting, and climate control to confirm everything works.
- Stocking: We verify the trailer is fully stocked with toilet paper, hand soap, paper towels, and any other supplies.
- Final walkthrough: We do a final cleanliness check and make sure the trailer is event-ready.
- Handoff: We show your designated on-site contact how to reach us if any issues arise during the event.
The entire process typically takes 30 to 60 minutes. You do not need to do anything during setup. Our team handles it all.
Service Area
We deliver and set up restroom trailers throughout North Carolina. Our home base in Apex gives us quick access to the Triangle region (Raleigh, Durham, Chapel Hill, Cary), plus the Triad (Greensboro, Winston-Salem) and beyond.
Ready to get started? Get a free quote or call (919) 335-4926.
Frequently Asked Questions
How long does restroom trailer setup take?
Our team typically completes delivery and full setup in 30 to 60 minutes. We recommend scheduling delivery 2 to 4 hours before your event to allow time for setup and a final walkthrough.
Do I need to provide anything for setup?
For most events, all you need is access to a standard 20-amp electrical outlet within 100 feet of the trailer placement spot. If your venue lacks power, we can discuss generator options. We bring everything else, including extension cords, leveling equipment, and all consumable supplies.
Can a restroom trailer be set up on a hill or slope?
Minor slopes (2 to 3 degrees) can be corrected with our leveling equipment. Significant slopes are not suitable because the plumbing system requires the trailer to sit level. When you contact us, describe your venue terrain and we will advise on feasibility.
What happens if it rains during setup?
Rain does not affect our setup process. The trailer is fully enclosed and climate-controlled, so interior conditions remain comfortable regardless of weather. If the ground becomes soft, we may place ground protection mats to prevent ruts from the delivery vehicle.
How far from the event area should the trailer be placed?
We recommend 100 to 200 feet from the main gathering area. Close enough for convenience (1 to 2 minute walk), but far enough to keep it discreet. The exact placement depends on your venue layout, utility locations, and aesthetics.
Need Restrooms for Your Next Event?
We deliver luxury restroom trailers across North Carolina with fast setup and spotless service.